A Little Cultural Flair
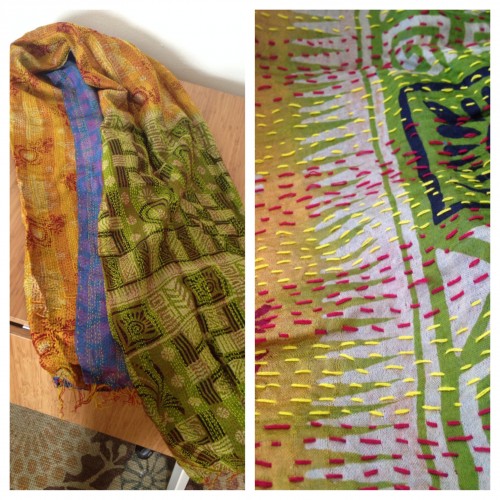
It’s been a long time since I’ve posted anything, I kind of went through a sewing lull and then had some set backs, but am now settled into a new apartment and feel ready to get comfortable sewing again! Today, I pulled out my fabric and hated all of it! Times have changed in the last 8 months, and I need new fabric. I did, however, find this scarf that we bought from India in Jan/Feb 2013 when we were last there that turned out to be poorly stitched and kinda wonky-looking… so it’s now fabric for my sewing pleasure!
I temporarily cannot find my DSLR camera, so my apologies- these iPhone photos will have to do for today.
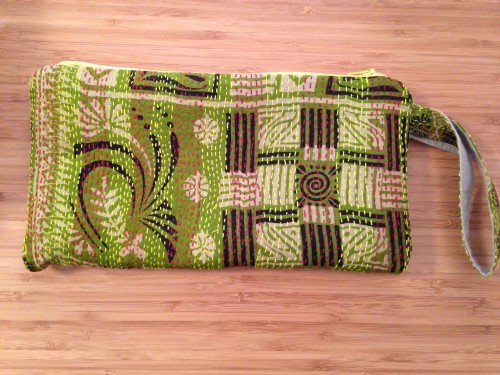
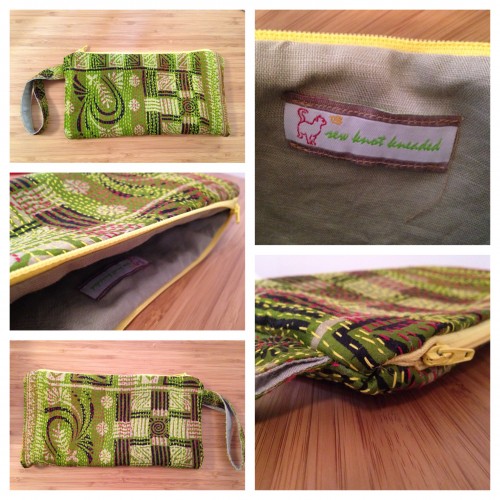
I chose to work with just the green side, wanted to keep it kind of simple. Here’s the finished product. I’m not a huge fan of it as it’s just not my style, but I’m happy with the way it turned out, and it was a good start to get back into sewing mode. Except- I used a zipper foot for the first time ever, and I sewed right through my finger… ouch! That hurt.
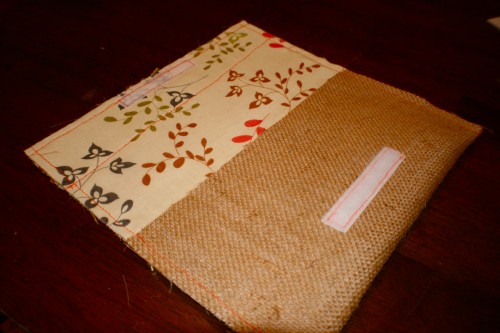
Burlap Clutch
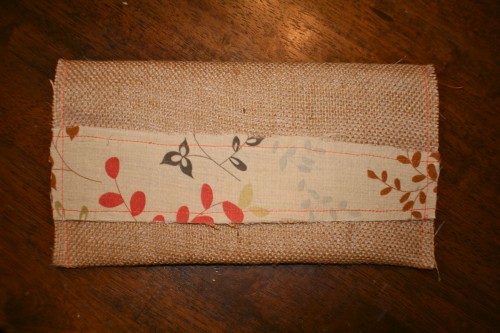
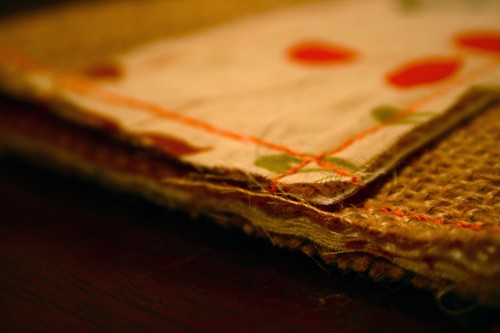
I’ve been wanting to work with burlap for a LONG LONG time, but never got around to trying. I finally bought some recently and tonight decided to play.
I have to say, burlap is a tough material to work with. It’s not that hard physically, but mentally for a Virgo it is. I am a perfectionist, and it was extremely hard for me to just let this material be as it is. That is precisely what I love about it- now that it’s finished.. but the process is challenging.
The imperfections in my work are always very calculated. This time, I decided that for the strip across the top of the clutch, I wasn’t going to cut it to make it perfect, nor was I going to cut a perfectly imperfect diagonal piece. I just used what I had laying right next to me. And I like it… I think.
Edges are raw.
Velcro closure.
Simple. Easy.
Can’t wait to use it.
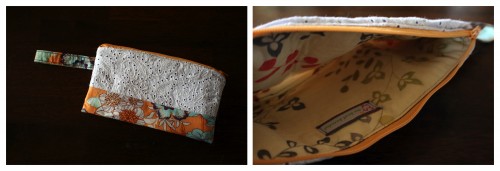
Pretty Summer Clutch
It’s been awhile since I sewed something that actually worked… I failed miserably at my last few projects which is why I haven’t posted anything in quite some time. But I finally bought some pretty fabrics from Spool when I was in Philly last, so it inspired me to make something simple and cute and not impossible.
The Overnight Bag
I’ve had an overnight bag on my mind for quite some time as I wanted to make myself one. So when I was thinking about what to make my sister for her birthday, I thought the overnight bag would be a great idea for her as something she could use on her honeymoon. This bag took me over 25 hours to make! There were a few new firsts me in making this, like the zipper, the folded corners, and padded straps.
The following pictures show both sides of the bag, with stripes lower on one side and higher on the other. The middle picture I just threw in there so you could see the size. I didn’t measure the final product, but I think it was somewhere around 17×18 inches.

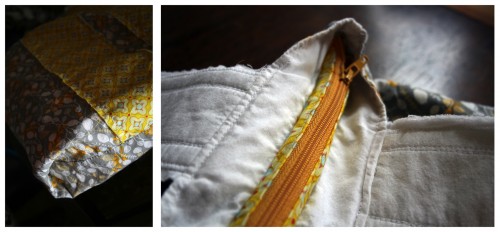
Here you can see the details of my very first zipper and casual folded corner.
I made two pockets. They are pretty large, so I made one higher than the other so that if they are filled they dont make the rest of the bag nonfunctional.
And we all know how I feel about frayed edges… The stripes were sewed on top to allow for fraying, and the straps were made to have a white edge fray with yellow fray on top.
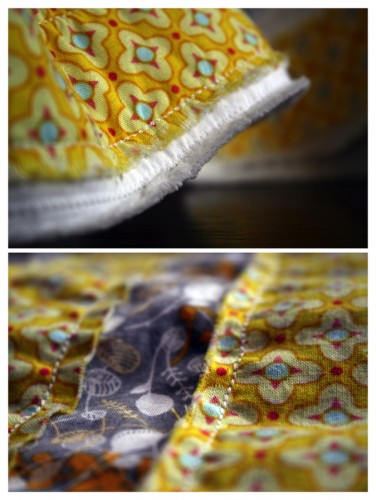
I loved the end result, and luckily my sister did too!
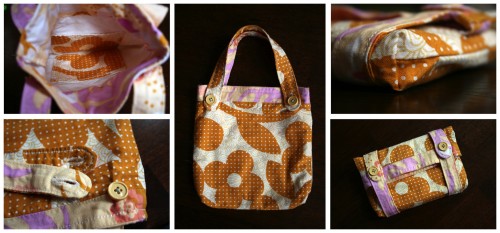
The Little Bag
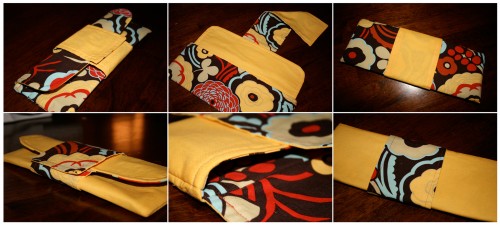
I made this little bag for myself for no particular reason. I never use or even like, really, small purses, but I just thought I would play and create something different. I had an idea of removable straps to wrap around a folded over little bag to make a clutch so that it could be a day bag easily turned into a night clutch. Didn’t turn out as expected, but still kinda cute.
Another Bag
Sorry for all the same day updates, but this is the last one for today.. I promise! I have just been so busy sewing, that I haven’t even really thought about updating the blog.
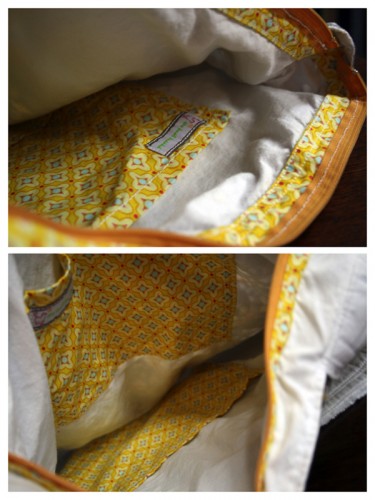
This is just a bag I decided to make. I put batting in it, but wish I hadn’t. I will probably make one soon without batting so it can be more hobo-ish and less old lady-ish. In the second picture, you can see my new label sewn onto the edge of one of the HUGE inside pockets I made. Speaking of which… I did that for a reason. I wish all my bags had huge separate compartments.. so I made it that way for myself. But this purse may have to be sold instead.. because I don’t want to use it! That depends on mom as she said she may be willing to use it in the spring. So we’ll see. :)
Pan’s Clutch and Fun with Pleating!
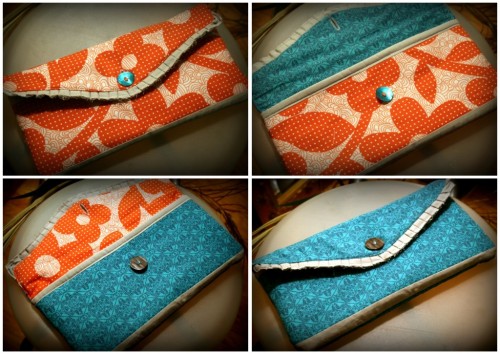
I made this darling little reversible clutch for my sister. It is my favorite purse I’ve made, and the toughest one of all! But I love it, and I’m so happy to have been able to make it for the best sister anyone could ask for.
Happy Birthday, Pan! (a little belated)
Reversible Hobo Bag
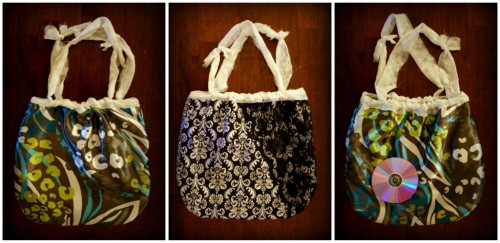
Here is my reversible hobo bag. Not the best stitch job but it’s ok. The first two pictures are of each reversible side. The last one shows the size of the bag using a CD as reference.
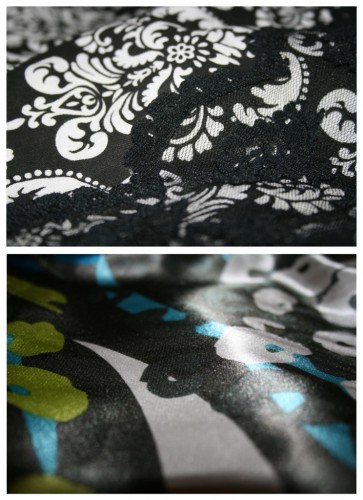
Here you can see close ups of the lace overlay and the satin fabric.
Yet Another Reversible Clutch
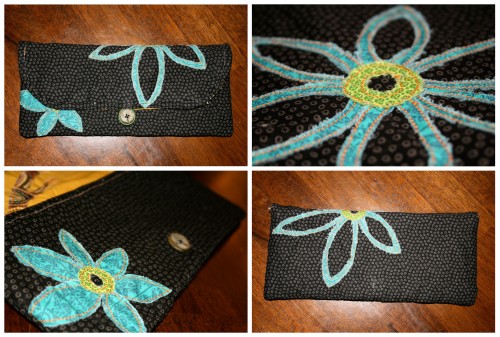
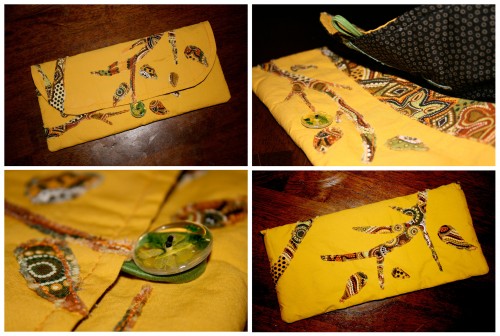
I made this clutch on my week off between quarters. Unfortunately, my feelings toward it are pretty much close to hatred. I really don’t like it for all the time I spent on it. I had to cut out all the shapes and individually sew them on after obsessing over the placement. It just took so long and I really wish it had turned out better. Regardless, I have been using it and have been getting a lot of compliments on it. So, whatever. I do however like the black and blue side way better than the yellow.
The batting doesn’t do anything for this purse’s sturdiness. I need to find a heaver, stiffer batting for my purses. It’s very flimsy. I did a terrible job with the stitching as well. Also, I think it’s time for me learn to sew in zippers. All in all, this purse made me feel like I went backward in my quest to become a sewing master. But do I really care? No. Am I lying to myself? Yes. Oh well. Maybe my next projects will be better!
Kate’s Clutch
Here is yet another (and my favorite to date) clutch purse… Made for Kate as a birthday present from Jon. Happy Birthday Kate!
This is fully reversible with an invisible magnetic clasp.
Kara’s Birthday Clutch
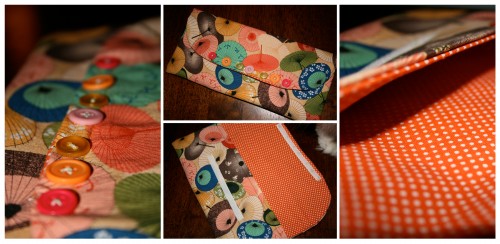
This was the purse I made Kara for her birthday. I wasn’t too happy with the buttons, but it is a real pain to hand sew on each button and make them perfectly in place.. I guess I wouldn’t know though because I did not even come close to the buttons being equidistant! However, this purse was actually the first one I’ve made that was completely seamless on the inside. In the last ones I made the top flap as a separate piece, but with this one I figured out how to not have that seam in the middle. I love that!
Reversible Clutch
I know everyone is probably really sick of seeing all the same prints, but this one is still my favorite! I loved the clutch I made Mitzi and wanted to make one that was reversible. At the time, I didn’t know how to do that, but I have since learned! It’s a bit tough, but worth it in the end.
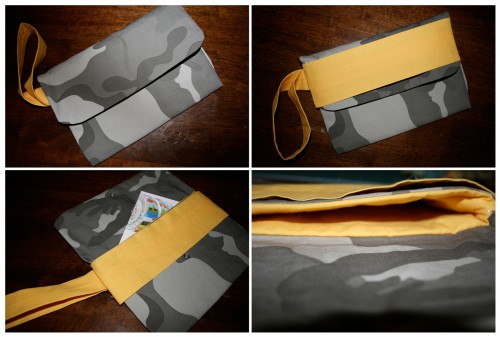
Since I don’t have too many good clasp/button options laying around at the moment, I thought about other ways to close the purse. I decided to design this little wrap element which I really love! The best way to keep that working for both sides is to sew magnets into the fabric of the strap, that way it stays functional when reversed. I didn’t have magnets but was itching to sew out my design, so thought I’d just make it anyway. Here is the finished product! The first two images on the left are of the front sides, and the last two on the right are of the back sides. The middle pics show you what it looks like open and some stitching close up. Remember you can click the image to enlarge!
And just because I think it’s funny looking, I will post what I made last night. Originally before deciding on the wrap around clasp, I thought it would look cool to make a wristlet with a strap across it to tuck the top into. Once I completed the project, I realized it looked like a Teenage Mutant Ninja Turtle. Either that or a blindfolded soldier. I’m not sure how anyone could possibly make a wristlet that looks like a ninja turtle, but somehow I did. If any girls are planning to be a TMNJ for Halloween this year, let me know.. you will have a purse to take along!
I attempted to see what it would look like without the top tucked in, and I think that looks better. Regardless, I will probably not be using this wristlet. It was poorly made, and stupid, however it was definitely good practice for tonights clutch which I think turned out really well.
Clutch
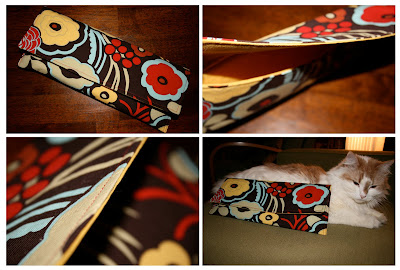
Mitzi & Jeff’s bridal shower had a really cute spice and recipe theme. We were all asked to bring a spice and a recipe with us to help start their collection. I, of course, never do anything the right way. I couldn’t think of the perfect spice or recipe but then decided on my Chai Tea Cookies. Mitzi and I lovingly refer to each other as our “Cookie” so it was appropriate. My spice was chai tea (which would be a conglomerate of spices) and I chose to package some of my favorite chai tea bags from the indian store that I always make my mom buy for me! I also included a baggie of crystallized ginger and my recipe for the cookies. I thought for awhile about how to package this gift, and originally thought I would make two little pouches and them put them in a box. Then I decided to make one big one so she could reuse it as a purse/clutch. So here is my finished product. I really love it and can’t wait to make more. Since I am horrible at cutting straight lines without that ruler board thing I need to purchase, I accidentally made it a little wider on one end than the other. When I was figuring out how to sew the last portion, I decided to keep the edges straight which would allow the clutch to have more room inside for stuff (and would potentially allow the top flat to fold over a bit easier once the bag is filled) So that worked out pretty well I think. I didn’t attach any buttons, however next time I make one I should probably use one of those magnetic snaps. Here’s the clutch! It’s a simple design that could probably use some tweaking in the future, but I still like it. Probably my best project to date! It’s exactly 12 inches (1 ft) in length- I took a picture with Coco so you could gauge the size of it.

